with Artesprix

I am thrilled to be a guest designer at Artesprix using the textured coasters. I actually experimented with a technique I’ve been wanting to try, shaving cream marbling. I wondered if it would work with the sublimation inks. These coasters are the results of my experiment.
The links provided are for your use and may contain affiliate links.
They cost nothing for you to use.
Thank you in advance for supporting this site with its use.

Materials:
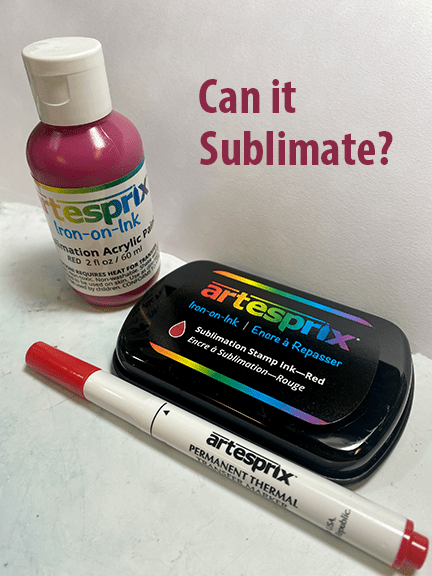
- Sublimation Inks
- shaving cream
- Textured Coaster Blanks
- Heat Resistant Tape
- Protective Paper Roll
- copy paper
- aluminum pan
- Cricut big scrapper
- Protective Project Mat
- Cricut EasyPress
- dowel rod

After filling the pan with shaving cream and using the scrapper to smooth the surface, I dropped eight drops of each color onto the shaving cream.

Swirl the ink into the shaving cream until you like the design. Then place the paper on top of the design and press down until you see the entire surface of the paper appears covered.

Lift the paper off of the shaving cream and then place it on a flat surface.

Scrap the shaving cream off the paper. Set the paper aside to dry.

The ink and shaving cream can be used over and over again. You can add ink as needed or use what remains. Here are the two designs I tested out on the coasters.

Once the area of the design was chosen, I used heat-resistant tape to hold the paper in place. Then sandwiched that between protective paper.

I used a Cricut EasyPress at the settings recommended on the Artesprix website.

After heat setting, do a peek test before totally removing the sublimation design from the blank. Be careful handling the blank since it will be hot.

The results are quite colorful. I am happy with the results and I look forward to trying it again with the Artesprix paint.