

I have a lot of ribbons, and I’ve always struggled to find an organization method that truly works for me. Recently, I saw someone repurpose a Pringles container to store their ribbon, and it was such a clever idea that I had to try it myself—so today I’m sharing how I made my own – and a few of the errors I had to fix along the way.

I used double-sided tape to adhere a sheet of decorative scrapbook paper around the can, avoiding thicker materials like card stock that would make it harder to curve smoothly.

I cut a 1/8″ opening for the ribbon ends to feed through. The scrapbook paper is also fed through the opening and adhered inside the can. I added decorative washi tape to the ends of the can to mask where the paper didn’t quite reach. The tape probably wasn’t necessary.
Video Tutorial:
While I fumbled through a few steps making this ribbon organizer, I’m sharing everything so you can learn from my mistakes and skip the hiccups. I already know this container will be a huge help in organizing my ribbons—and now I’m off to find a clever solution for my smaller rolls!
Suggested Materials:
 Cricut Portable Trimmer Shop at: AZ | C |
 Cricut True Control Knife Blade Shop at: AZ | C |
 Dollar Tree Shop at: O |
 Double Sided Tape Shop at: AZ |
 Dowel rods Shop at: AZ | O |
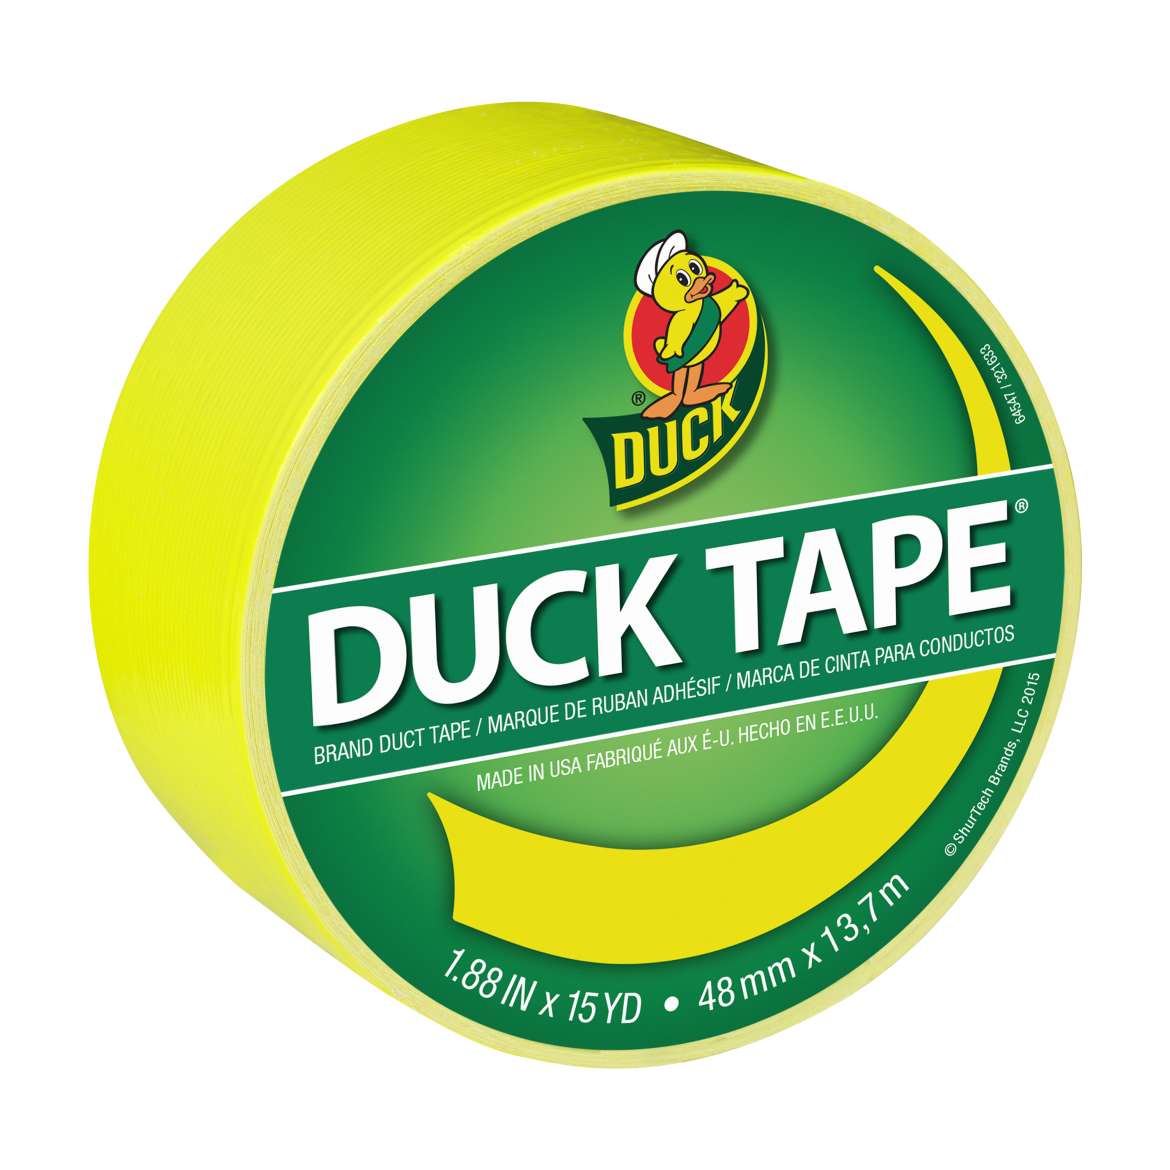 Duck Tape Shop at: AZ |
 Glassboard Shop at: AZ | O |
 Non-Stick Scissors Shop at: AZ |
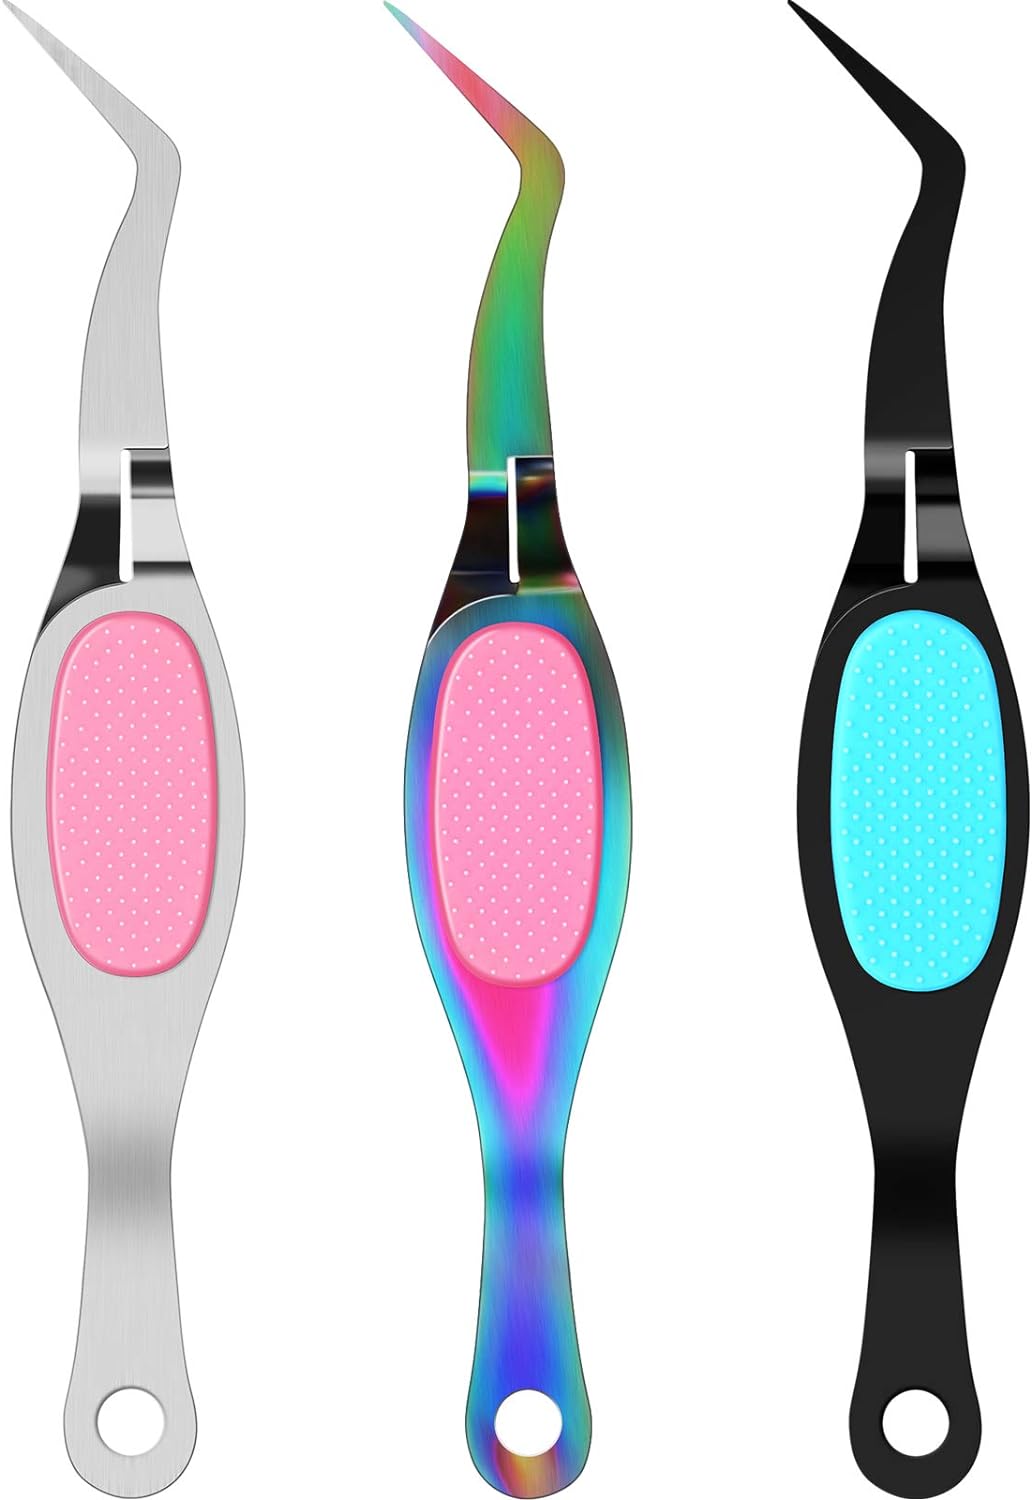 Tweezers Shop at: AZ | |