with etchall creme

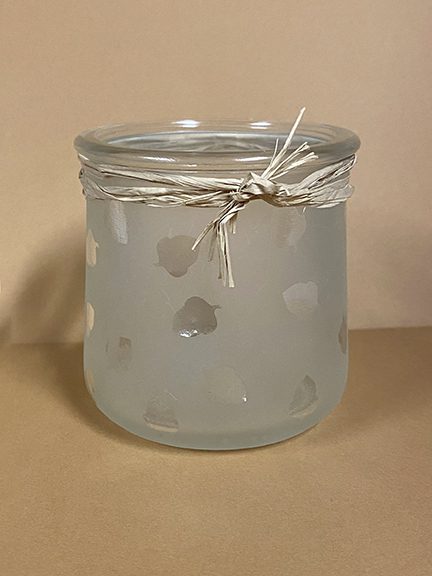
I have been saving this glass jar for a special project. I knew I wanted to etch the glass with etchall creme. But I wanted to do some decorative elements as well. I planned to use temporary tattoos on the etched glass. I have seen the technique and I like the results. But, it is easier said than done. I wasn’t successful. So I changed my plan and added glitter glue and I like this result better than my original plan.

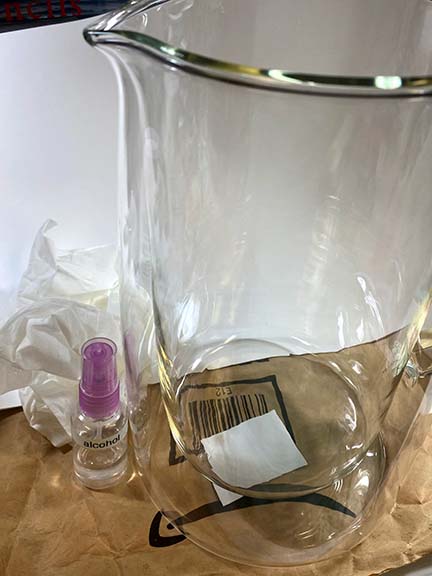
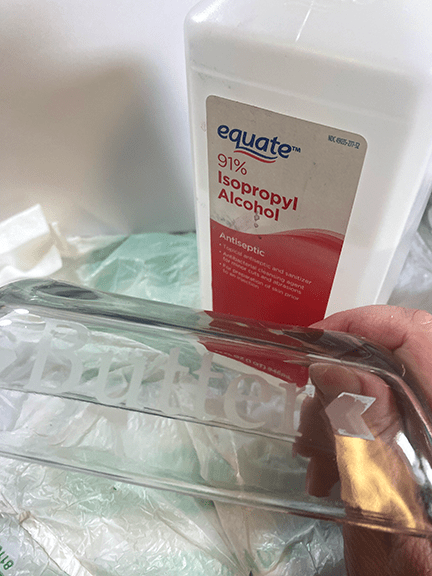
Before starting any etching project, you want to clean your glass with rubbing alcohol. I keep mine in a little spray bottle for ease of use. The alcohol cleans off any dirt especially oils that can stop the glass from being etched.

I cut two strips of vinyl and wrapped them around the jar to protect the areas I didn’t want to etch with the etching creme. The wrinkles don’t matter as long as they aren’t along the seam of the vinyl where the etching creme will come in contact with the vinyl.


Then I applied the etchall creme to the middle exposed area. I set my timer for 15 minutes. Once the time had passed, I removed as much of the etching creme as I could, and returned it to the jar. etchall creme is reusable and odorless.

Remove the remaining etching creme by washing the glass, remove the vinyl, and discard it. The jar looks so nice with the etched band around the middle.

To add a decoration on top of the etched area of the jar, I used crystal Zazz! and green Stickles.

The center of the design is colored crystal with the green added around the outside similar to a flower or sun ray design. I continued this design element around the entire etched middle band.