Chine-collé Tag

See how Chine-colle’ inspired this week’s tag tutorial.

finished tag

This week’s tag is inspired by the technique of Chine-collé. Chine-collé is a printmaking method where a thin sheet of paper is bonded to a thicker backing at the same time an image is printed onto it. For our tag, we’re borrowing that idea in a simplified way—adhering a thin napkin layer to our tag base first, then stamping directly on top. This creates a beautifully soft, layered effect while still keeping the project easy and approachable for everyday crafting.

napkin on tag

After separating the extra layers from the napkin, I used a light mixture of water and glue to adhere the remaining thin layer to the tag base. Once it was completely dry, trimming away the excess was quick and easy, leaving behind a smooth, delicate surface ready for stamping.

word

After stamping and adding a touch of sparkle spray to finish off the tag, I adhered a large black die-cut “hello” as the focal point. The bold sentiment contrasts beautifully with the soft, layered background, bringing the entire design together.

Video Tutorial:

sparkle

The image above shows a close-up of the finished tag, where you can really see how the sparkle spray catches the light, adding a subtle shimmer and a touch of shine to the surface.

Suggested Materials:

Links are Affiliates AZ – Amazon, SSS – Simon Says Stamps, SB – Scrapbook, O – Other
Glassboard
Glassboard
Shop at:
AZ | O
Glue Bottles
Glue Bottles
Shop at:
AZ
HP Paper
HP Paper
Shop at:
AZ
Lisa Horton - Cloud 9 Matte
Lisa Horton – Cloud 9 Matte
Shop at:
SB
Non-Stick Scissors
Non-Stick Scissors
Shop at:
AZ
Ranger Heat Tool
Ranger Heat Tool
Shop at:
AZ
Reptile Glue
Reptile Glue
Shop at:
AZ
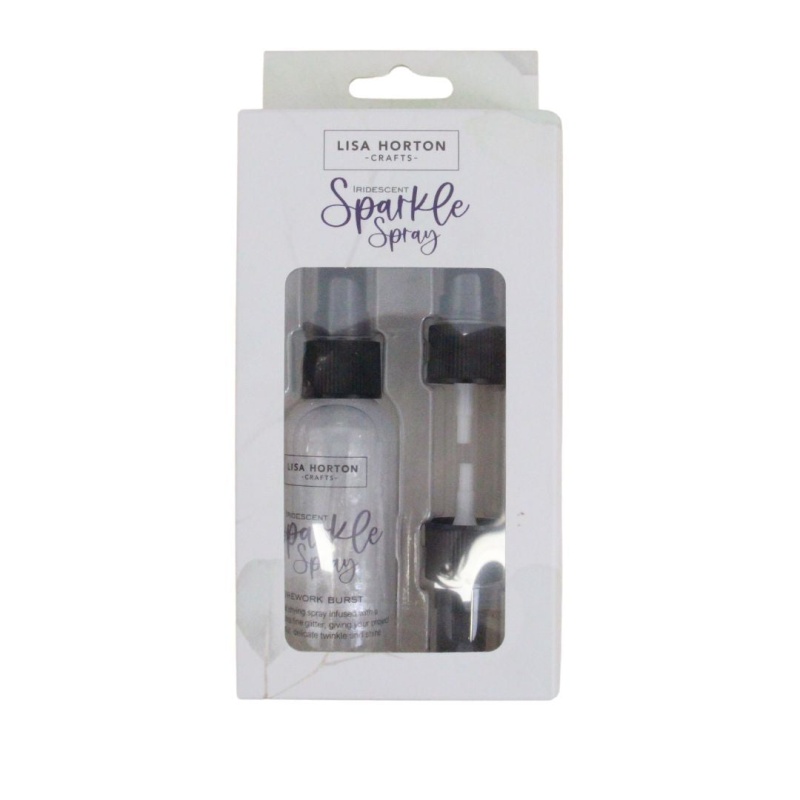
Sprkle Spray
Sprkle Spray
Shop at:
O

Free Spring-themed Printables

Free spring themed printables.

For this month’s Spring Printable Hop, I am sharing a brand new sheet of Spring Garden clipart images. These bright and cheerful designs are perfect for adding a touch of spring to your cards, journals, tags, and other paper crafting projects.


Grab the free Spring Garden PDF here: [Spring Garden]

My go-to printer brand for years has been HP. I also use their ink supply service where I pay a monthly fee and they send me ink cartridges as needed. It comes out to be a lot less money this way and I don’t have to keep track because they do all the tracking for me. The HP Envy Inspire is a great-priced machine that will produce beautiful prints.

If you are looking for a great crafting-weight paper for printables, I have a new favorite. It is double sided matte photo paper by Koala. It is heavier than copier paper but not quite as heavy as cardstock. It is a great medium weight for layering, folding, and more! They have different weights, I have been using the 48lb for printables. It is available on Amazon.

And I found a new sticker paper I really like. It is A-Sub. It comes in Glossy and Matte, 25 or 55 sheets. You can find it at Amazon. 

You can easily turn clip art images into magnets using Printable Magnets Sheets from Cricut. 

Blog Hop:

Take a moment to visit all the wonderful free printables being shared this month with a Spring theme.

Artsy-Fartsy MamaSpring Bingohttps://www.artsyfartsymama.com/2019/03/free-printable-spring-bingo.html
Smiling Colorshello spring coloring pageshttps://www.smilingcolors.com/hello-spring-coloring-pages/
The Benson StreetSpring Coloring Bookmarkshttps://www.thebensonstreet.com/free-printable-spring-coloring-bookmarks/
The Crafty Blog StalkerSpring Word Printablehttps://thecraftyblogstalker.com/free-printable-spring-word-search/
Try it – Like it – Create itSpring Garden Clip Arthttps://tryit-likeit.com/free-spring-themed-printables/

Free Heart Clipart

Free heart printable page for crafting.

This heart printable is perfect for Valentine’s Day crafting, but hearts are popular all year long! Grab the free printable to create stickers, magnets, temporary tattoos, and a wide variety of paper craft projects.

Grab the free PDF file here: [Hearts pdf]

My go-to printer brand for years has been HP. I also use their ink supply service where I pay a monthly fee and they send me ink cartridges as needed. It comes out to be a lot less money this way and I don’t have to keep track because they do all the tracking for me. The HP Envy Inspire is a great-priced machine that will produce beautiful prints.

If you are looking for a great crafting-weight paper for printables, I have been using HP Project Paper. It is heavier than copier paper but not quite as heavy as cardstock. It is a great medium weight for layering, folding, and more!

Grab these full page label papers to make your own stickers. [sticker paper]

You can easily turn clip art images into magnets using Printable Magnets Sheets from Cricut. 

Another fun option would be to turn images into Temporary Tattoos with this pack of 5 sheets available on Amazon.

Transparent Magazine Lifting

Use this magazine lifting technique to create transparent images. The process was so satisfying and the results were amazing!

finished tag

The technique used for this week’s tag is a magazine lifting technique that creates beautifully transparent images. The process was very pleasing and produced great results—definitely a technique I’ll be using again.

lifted images

Examples of the lifted images

materials

I chose a dictionary page for the background of the tag, then layered the transparent images, and finished off with an aged ephemera piece.

Interested in the aged ephemera technique, you can find that tutorial here: [aged ephemera]

Video Tutorial:

Suggested Materials:

Links are Affiliates AZ – Amazon, SSS – Simon Says Stamps, SB – Scrapbook, O – Other
Cricut Portable Trimmer
Shop at:
AZ | C
Distress Ink Bundle
Distress Ink Bundle
Shop at:
AZ | SB
Finger Daubers
Finger Daubers
Shop at:
AZ
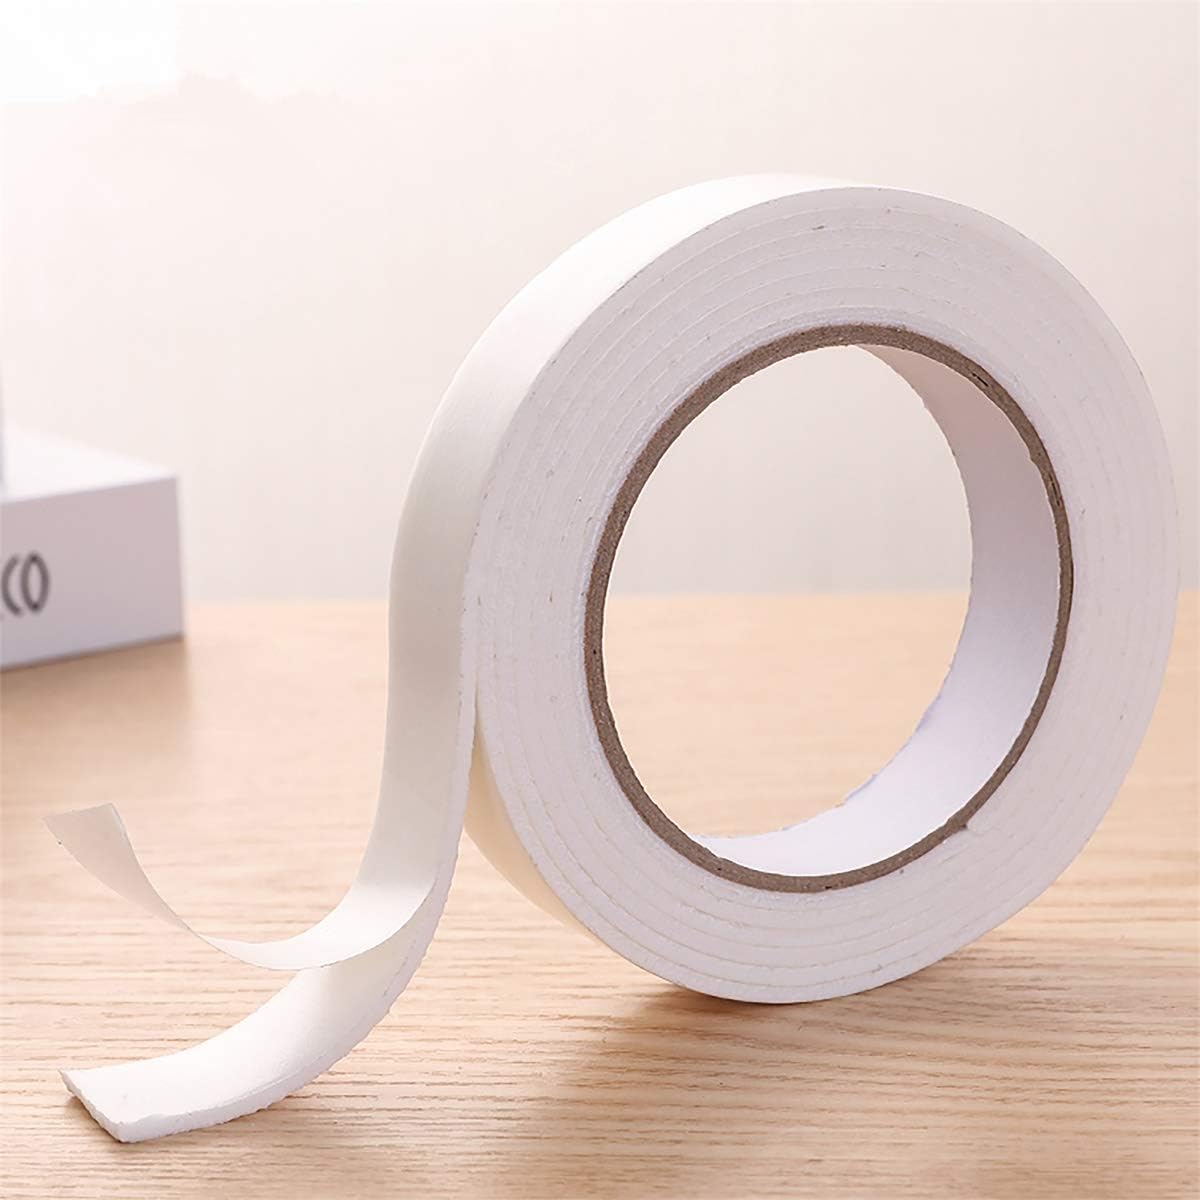
Foam Tape
Foam Tape
Shop at:
AZ
Glassboard
Glassboard
Shop at:
AZ | O
HP Paper
HP Paper
Shop at:
AZ
Non-Stick Scissors
Non-Stick Scissors
Shop at:
AZ
Zig Adhesive
Zig Adhesive
Shop at:
AZ
close up

In the close up image above you can get a good look at the transparency of the lifted images.

The Art of Stencil Burning

Scorch Paint worked surprisingly well on a different surface, check out the tutorial.

Finished Box

Scorch Paint is a fun way to create pyrography-style projects, and I was curious to see how it would perform on a surface other than wood. I tested it on a small craft box made from compressed card, and while the paint did react and create a burned effect, it’s important to use extra caution. Heating a paper-based surface can cause scorching, warping, or even burning much faster than wood, so this technique should be approached carefully. It’s a successful experiment—but one that definitely requires mindfulness and safety awareness.

stencil

I used a sticky stencil on the box and applied the scorch paint through the stencil. Then I removed the stencil before heating the surface.

Video Tutorial:

Suggested Materials:

Links are Affiliates AZ – Amazon, SSS – Simon Says Stamps, SB – Scrapbook, O – Other
Buttons Galore and More use Janet10 for a discount
Shop at:
AZ
Dollar Tree
Dollar Tree
Shop at:
O
Glassboard
Glassboard
Shop at:
AZ | O
Glue Bottles
Glue Bottles
Shop at:
AZ
Makers Magic
Makers Magic
Shop at:
AZ
Non-Stick Scissors
Non-Stick Scissors
Shop at:
AZ
Reptile Glue
Reptile Glue
Shop at:
AZ
Scorch Paint
Scorch Paint
Shop at:
AZ
Sizzix Intricate Craft Tool
Shop at:
AZ

Alcohol Ink Dip

A simple alcohol dip experiment created beautiful background activity. Check out the process here.

finished tag

This tag began as a simple experiment—dipping into alcohol ink using a marbling-style technique—and quickly turned into a fun, creative exploration. Watching the inks move, blend, and create unexpected patterns is part of the magic, and no two results are ever the same. What I love most about this process is how many different avenues it opens up, from subtle color play to bold, layered effects, making it a technique you can revisit again and again with fresh results each time.

in process

After experimenting with white tags, I chose to try a colored cardstock with opal alcohol ink. The visual activity didn’t appear until the tag was dry.

misti stamping

Since I was stamping with brand-new, never-before-used stamps, I knew I wanted to use a stamping platform in case I needed to stamp more than once. Given that the tag was pink and Valentine’s Day was just around the corner, I chose a heart along with the word love to finish the design.

markers

Adding a bit more color and activity to the tag, I used a Pentel Dual Metallic Brush marker in red, and a white and pink Sharpie acrylic marker.

close up of tag

The image above is showing the sparkle caught in the light created by the alcohol dipping method.

Video Tutorial:

Suggested Materials:

Links are Affiliates AZ – Amazon, SSS – Simon Says Stamps, SB – Scrapbook, O – Other
Cricut Portable Trimmer
Shop at:
AZ | C
Glassboard
Glassboard
Shop at:
AZ | O
Intense Black Ink Pad
Shop at:
SSS
Misti
Misti
Shop at:
AZ
Pentel Metallic Brush Pens
Shop at:
AZ
Ranger Adirondack Alcohol Ink 3 pack
Shop at:
AZ | SSS
Ranger Heat Tool
Ranger Heat Tool
Shop at:
AZ
Sharpie Acrylic Markers
Shop at:
AZ
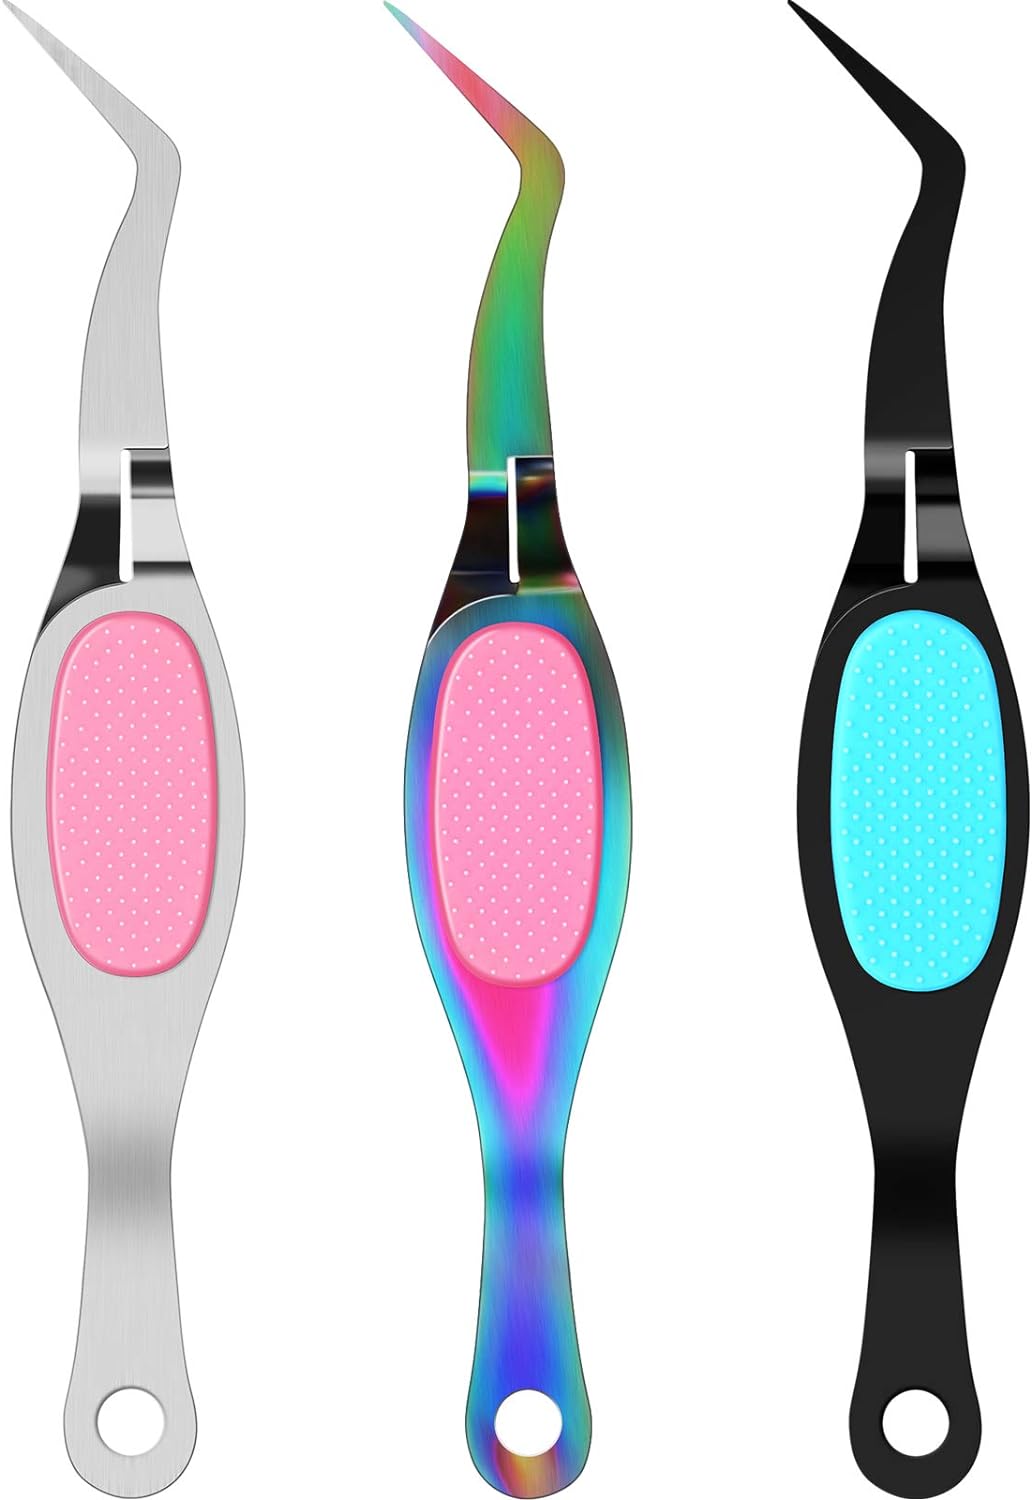
Tweezers
Tweezers
Shop at:
AZ

Re-inker Blending

Creating often means letting the process lead—this ink and watercolor experiment took an unexpected (and fascinating) turn.

finished tag

If you create often, you may find yourself in a position where your work needs to evolve. That’s exactly what happened to me this week. I began with a simple idea—allowing ink to blend and bleed in water to form loose floral shapes. What surprised me most was that the blending didn’t stop at the surface. The ink traveled through the watercolor paper and appeared on the back side, creating an unexpected and fascinating effect that completely shifted how I viewed the piece.

materials

I began with a watercolor paper tag, water, and a Momento re-inker is a cocoa color. I used a business card to transfer the ink, a credit card would work too.

This image has an empty alt attribute; its file name is front.jpg

The image on the left is the front with the flower-like shapes. The image on the right is the back where the ink bled through the tag. I actually like both sides and had to choose which one to continue with for this week’s project.

Video Tutorial:

close up image

Here is a close up look at how the re-inker bled through the paper and created different colors. You can see different colors of greens, browns, and a bit of rust.

Crafting Themed SVGs

Craft now… clean later. Download the free SVG and craft away!

crafting svg image

If you’re a crafter, you already know — crafting always comes first (at least in our hearts!). Grab this free SVG and let the world know exactly where your priorities lie.

Grab the free SVG and PNG file here: [crafting zipped file]

Not sure what Cricut tools you need or should use? Check out this post – What tools to Buy.

Need to know about the different vinyl products available? You can learn all about it at About Cricut Vinyl.

Are you confused about the different colors of mats? This article will clear it all up for you.  Which Mat Do I Use?

SVG Hop Images:

collage

My fellow SVG creators are joining me in a fun hop featuring crafting-themed SVG files! Each design is free to download and perfect for adding a special touch to your projects. Explore the variety below and get inspired!

Site Free SVG / Project
Flowingcreek I Love Crafting Gift Card Tag SVG
We Can Make That Craftaholic
Harper N Co Craft Room Door Sign
Try It – Like It – Create It Craft Now, Clean Later
The Quiet Grove Crafty Mama
The Crafty Blog Stalker Glitter Is My Favorite Color
Dinosaur Mama Creativity at Work Sign SVG
Kiy’s Craftroom Sew Far Sew Good
The Scrap Shoppe Happy Place
Main Road Digital Creations This is my crafting shirt

Watercolor Stenciling

This week’s tag features a dreamy watercolor background and layered details for added depth.

finished tag

This week’s tag features a fun stenciling technique using watercolor paints that gently lifts the pattern from the surface rather than layering color on top. The result is a beautifully soft, almost dreamy background that has a look all its own. Unlike traditional stenciling methods that add bold texture or color, this technique creates subtle movement and visual interest while still keeping the design light and airy. It’s a wonderful way to add depth without overpowering your project, making it perfect for tags, cards, and mixed-media creations.

Video Tutorial:

finished tag

Here is the finished tag with the ephemera pieces layered over the watercolor background. The watercolor technique creates a visually active base that beautifully echoes the imagery in the sentiment panel. The white border around the sentiment helps ground the design and gives the focal point a clean, finished look while allowing the background to remain soft and expressive.

To see how the button flower was made: https://youtu.be/Yo8CQwxA6pU

Suggested Materials:

Links are Affiliates AZ – Amazon, SSS – Simon Says Stamps, SB – Scrapbook, O – Other
1
1″ Circle Punch
Shop at:
AZ
American Crafts
American Crafts
Shop at:
O
Carta Bella
Carta Bella
Shop at:
AZ
Dynasty Brushes
Dynasty Brushes
Shop at:
AZ
Glassboard
Glassboard
Shop at:
AZ | O
Glue Bottles
Glue Bottles
Shop at:
AZ
Gwen Studios at Walmart
Shop at:
O
Non-Stick Scissors
Non-Stick Scissors
Shop at:
AZ
Ranger Heat Tool
Ranger Heat Tool
Shop at:
AZ
Reptile Glue
Reptile Glue
Shop at:
AZ

Expanding Mousse

See how expanding mousse adds texture and color to your papercrafts.

finished tag

For this week’s Tag it Tuesday tutorial, I experimented with expanding mousse — applying it through a stencil to create textured dimension. When heat is applied, the mousse puffs up beautifully, adding an instant 3D effect to the tag!

ink and mousse

I started creating a background with ink smooshing and then applying the expanding mousse.

additional materials

After I had the background i needed to find additional materials that worked with the color and texture. I chose string, a brad, and an embossed sentiment.

Video Tutorial:

Suggested Materials:

Links are Affiliates
AZ – Amazon, SSS – Simon Says Stamps, SB – Scrapbook, O – Other
Crop a dile
Crop a dile
Shop at:
AZ
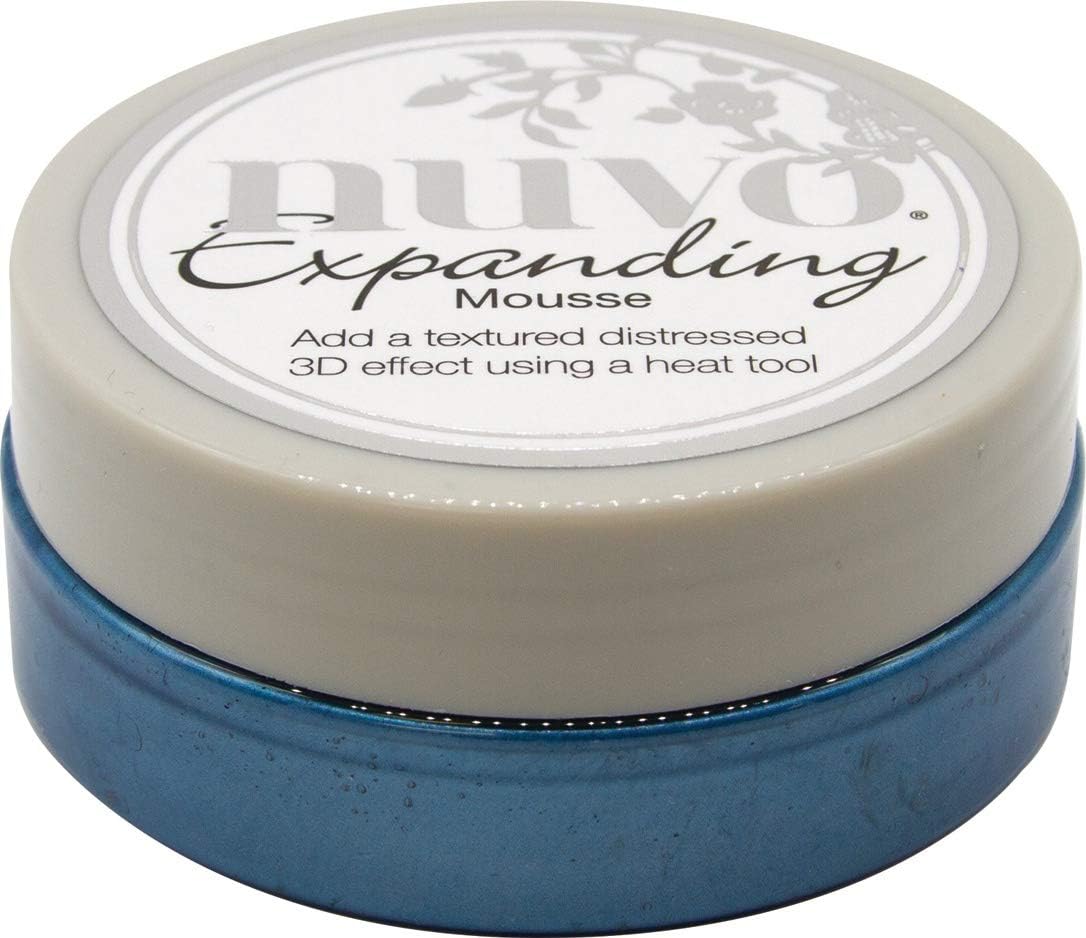
Expanding Mousse
Expanding Mousse
Shop at:
AZ
Glassboard
Glassboard
Shop at:
AZ | O
Glue Bottles
Glue Bottles
Shop at:
AZ
HP Paper
HP Paper
Shop at:
AZ
Interference Ink
Interference Ink
Shop at:
AZ
Palette Knife
Palette Knife
Shop at:
AZ
Ranger Heat Tool
Ranger Heat Tool
Shop at:
AZ
Reptile Glue
Reptile Glue
Shop at:
AZ
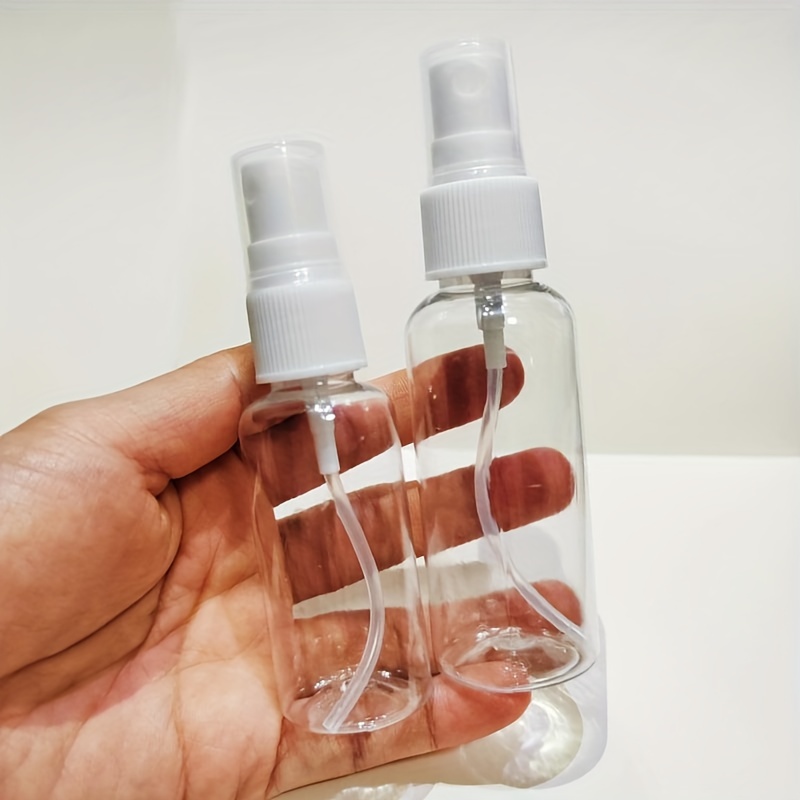
Spray Bottles
Spray Bottles
Shop at:
AZ