Fairy Card with Heart Stems

Follow along to make this fairy card with heart stems. Lots of techniques included.

Today I am working with a stamp from Fairy Hugs called Alexa. She is joyful and playful so I added an array of three different colored heart stems behind her to amplify her action. The card doesn’t have a sentiment. I like leaving them blank until later so the card can be used for a variety of different occasions. I can always add a sentiment but changing one isn’t that easy.

Many of the items I use in posts are provided by the manufacturers to promote their products.
A special thanks to those brands who sponsor this site
. Some links are affiliates, thank you for using them.

Materials:

  • Alexa stamp
  • stamp block
  • black ink
  • colored pencils
  • embossing plate
  • CrossOver II
  • heart stem die
  • clear embossing powder
  • Versamark ink pad
  • heat tool
  • purple ink pad
  • card stock – a variety of colors
  • tape runner
  • foam tape *
  • scissors *
  • Brother Scan n Cut
  • Wink of Stella
  • Blue metallic marker *
  • Cricut Paper Trimmer
    * items were purchased at the Dollar Tree

A variety of different techniques were used in putting this card together. You can see them step by step in the video tutorial below.

Video Tutorial:

Above is a close-u image of the card so you can see some of the details. The final touches while seem small really do add to the overall vision of the card.

Suggested Materials:

Links are Affiliates
AZ – Amazon, C – Cricut, SSS – Simon Says Stamps, SB – Scrapbook, O – Other
Crossover II
Crossover II
Shop at:
AZ
Intense Black Ink Pad
Shop at:
SSS
Portable Trimmer
Portable Trimmer
Shop at:
AZ | O | C
Tape Runner
Tape Runner
Shop at:
AZ | SSS | SB
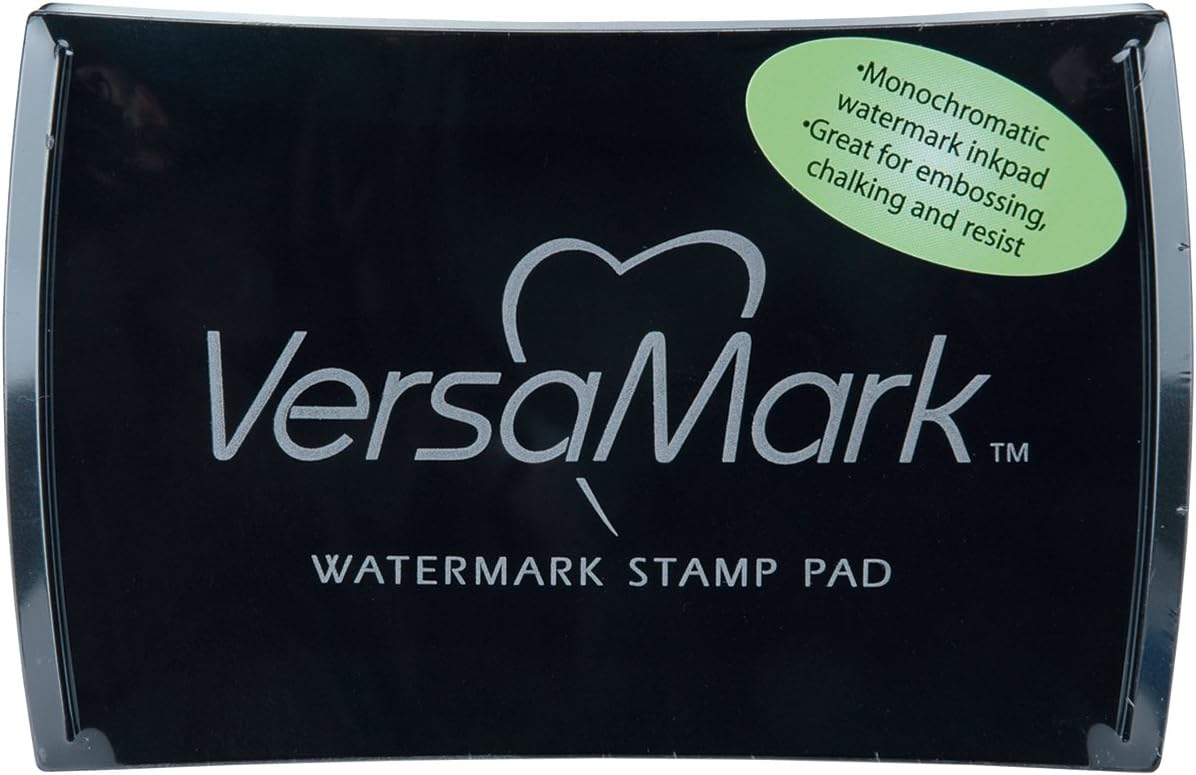
Versamark
Versamark
Shop at:
AZ | SSS | SB
Woodless Colored Pencils
Shop at:
AZ | O |

Make a Paper Spin Toy

Easy kids craft, make a spinning paper toy.

toy in hand

  These spinning toys are simple, but so much fun. They are easy enough for the kids to make along with you. Think how excited they will be to make their own usable toy!  

Many of the items I use in posts are provided by the manufacturers to promote their products.
A special thanks to those brands who sponsor this site
. Links may be affiliates.

best glue
no-clog

Materials:

I used cardstock but any paper will work. Cut the strips to 3/4″ x 8.5″. Using cardstock you will need about six strips. The exact dimensions and amount of strips really aren’t important but you do want to build up the width. The only important thing is to make sure you roll the strips tightly around the toothpick. 

Video Tutorial:

top view of toys

  A view from the top, how colorful! 

Ghostly Table Decor

Learn how to make this light-up ghost with easy-to-follow directions.

The leaves are falling and there is a slight chill in the air. Is that chill from the weather or our ghostly friend? This easy-to-make ghost will add a festive look to your decor, on a table or the mantle. Make one or a few. Included the kids – they will love the messy factor of the fabric stiffener!

Materials:

  • DIY fabric stiffener (* recipe below)
  • White fabric (muslin, cotton, t-shirt, fabric diaper)
  • Googly eyes
  • @Glue Dots
  • Aluminum foil
  • Armature structure for ghost (**suggestions below)
  • Electric light – or electric candle

Ghost Directions:

Cover your work surface with aluminum foil, cover the armature with foil as well.

Place the fabric into the fabric stiffener, using your hands make sure the cloth is completely saturated. (this is the fun messy part)

Drape the saturated fabric over the armature. Take some time to place the fabric and adjust the folds. If you have areas of fabric that are longer than other areas, tuck them under so the bottom edge of the fabric is all at the same level.

Allow the fabric to completely dry.

Once dry, remove the fabric from the armature.

Attach the Googly eyes to the fabric using Glue Dots.

Place the light under the ghost and he is good to go boo all your friends.

*To make the fabric stiffener:
You will need:
water
corn starch

Directions:
On the stove, boil 1/4 cup of water.
In a separate bowl, mix 1/4 cup of cold water and a Tbsp of corn starch. (mix well)
Add the cold mixture to the boiling water in the pan.
Stir constantly and allow the mixture to boil.
Remove from heat and allow it to cool.

** Armature:
An armature is a structure similar to a skeleton. It is the framework that will hold up and shape your fabric while it drys.

The Purex crystals bottle was the perfect shape, round at the top with long sides.

To make a similar shape, place a tennis ball on top of a soda can and cover it with foil.

Another option would be to put a small blown-up balloon into a glass and cover it with foil.

How to Foil Your Stamping

Learn how to foil your stamped images with this special technique.

You can make your own foiled embellishments with this fun and relaxing technique. Using DecoFoil and a rubber stamp you create your image, and then use watercolors to finish coloring the images. The foil acts as a resist for the watercolor leaving its glimmer behind.

Many of the items I use in posts are provided by the manufacturers to promote their products.
A special thanks to those brands who sponsor this site
.

foiling materials

Materials:

Affiliate links to many of the items used in this process are linked at the bottom of this post for your ease in acquiring them. Thank you for considering using them.

  • rubber stamp
  • stamp block
  • cardstock
  • DecoFoil
  • DecoFoil transfer adhesive pen
  • Derwent Inktense pencils
  • Yatsutomo Metallic watercolor paints
  • paintbrush
  • mini Maker – optional

Since we are using an adhesive product on your stamp, you might want to use an older or less expensive stamp. It is very important to thoroughly clean off your stamp with soap and water after using this technique.

Video Tutorial:

finished pieces being used

It is really difficult to capture the beauty of these pieces on camera due to the reflective nature of the foil. The watercolor and foil together make for a very unique combination. I think this is one of my favorite techniques to create. Probably more for the enjoyment of the process but the outcome is pretty nice too!

Suggested Materials:

Links are Affiliates
AZ – Amazon, SSS – Simon Says Stamps, SB – Scrapbook, O – Other
Deco Foil
Deco Foil
Shop at:
AZ | SSS
Deco Foil Adhesive Pen
Shop at:
AZ | SSS | SB
Derwent Inktense
Derwent Inktense
Shop at:
AZ
Mini Maker
Mini Maker
Shop at:
O
Yasutomo Metallic Watercolors
Shop at:
AZ

Making a Fall Shaker Tag

With fall in the air, make this fall themed shaker tag from the free SVG file.

with CutCardStock

fall shaker tag

I think fall is my favorite season. I love the crisp air and all the fall colors. This fall shakers tag file I am sharing with you today is so versatile. You can make the tag as a shaker, or just use the front panel for a tag. Then, you have a variety of different ways to use your tag. On a card, a gift, in a journal, with mixed media…

Many of the items I use in posts are provided by the manufacturers to promote their products.
A special thanks to those brands who sponsor this site
.

cardstock bronze

With its shimmering fibers and rich brown hue, the Stardream Metallic card stock is one of my favorite brands of card stock from CutCardStock. The fall tag is made with the bronze Stardream card stock.

cricut maker
Cricut Maker

Use a personal cutting machine that works with an SVG file. The tag’s size can be adjusted. I made mine 3.5″ wide, and cut mine on a Cricut Maker at 100# card stock. I’d recommend cutting the file twice. After the first cut, don’t remove the mat but push the go button to cut again. If your mat has lost some adhesion, I recommend using washi tape on all four sides of the card stock to hold it in place.

materials
materials

A few materials are needed to create this project, and changing what you use can change the look as well as make the project fun! Coordinate the shaker elements with the ribbon to personalize your tag.

Materials:

  • Cutting Machine – Cricut Maker
  • free SVG file
  • card stock
  • adhesive
  • clear acetate
  • foam tape
  • shaker elements
  • ribbons
  • scissors
  • marker – optional

You can recycle the clear acetate from some packaging. The cut shape is not included in the SVG file. Just use your tag as a guide to cut the size you need.

Video Tutorial:

The SVG file for the Fall Tag can be found at: [Fall Tag]

Suggested Materials:

Links are Affiliates
AZ – Amazon, SSS – Simon Says Stamps, SB – Scrapbook, O – Michaels
Cricut Maker® Machine
Shop at:
AZ | O | C
Cricut Standard Grip Mat
Shop at:
AZ | C
Cut Cardstock
Cut Cardstock
Shop at:
O
Gina K foam tape
Gina K foam tape
Shop at:
AZ | SSS | SB
Scraperfect 32 Clog Writing Cap, Medium
Shop at:
AZ | SSS | O
Scraperfect Best Glue Ever
Shop at:
AZ | SSS | O
Westcott 14849 8
Westcott 14849 8″ Straight Titanium Bonded Non-Stick Scissors
Shop at:
AZ

Making a Mini Album

A beautiful mini-album made using materials provided by i-Crafter.

with iCrafter

This month, the DCC (Designer Crafts Connection) is being sponsored by i-Crafter. If you aren’t familiar with i-Crafter, you are going to love their products, they are so creative. I first experienced i-Crafter at a Creativation conference and their booth was all the buzz as a new company displaying products. They have been going strong ever since.

I would first like to thank Designer Crafts Connection for the opportunity to work with amazing companies and designers. And specifically for this post, I would like to thank i-Crafter for providing materials used with this project.

There are nine other projects created for this Designer Crafts Connection hop. Please take a moment to visit all the projects to see how each designer worked with i-Crafter.

materials

The image above shows what i-Crafter sent to me. I love the little house dies and the 3D embossing folder, but I am setting them aside for another project. All those little clear pockets hold embellishments for a mini-album, which the parts were also included. A detailed direction document showed how the mini-album gets put together. I put mine together pretty much as explained.

The Pages:

first page

I jumped in and put the mini-album together. After designing the front and back cover, I started on the inside. There was no way i-Crafter could send all these dies for the album and embellishments, but it was amazing that they sent all the parts pre-cut and labeled. It was a fun project to put together and one I think they could easily sell as kits.

While the mini-album follows a theme, there is a lot of variety from page to page. The image above has a storage envelope, embellishments, and an acetate page. Each of the three acetate pages has a word on them: Live, Laugh, Love.

last page

The theme is also carried throughout using coordinating papers and shapes. The mini-album form is held together with an accordion binding which is so clever. The video below will walk you through the entire process and then show each page when finished.

Process Video

Pumpkin Mandala Card

Follow along and make this pumpkin mandala for fall, Halloween, or Thanksgiving. It is so versatile it works for card making or home decor. #sponsored #cutcardstock

with printable and free SVG

Today I am using an SVG file to create a Pumpkin Mandala Card. This design works well for Halloween, Fall, or Thanksgiving. I’ve used the mandala for a card but you could make it larger for a beautiful decor piece. Or just framing the card would be nice too.

Many of the items I use in my posts are provided by the manufacturers in order to promote their products.
A special thanks to those brands who sponsor this site.

Orange, brown, and gold card stocks are being featured this month on CutCardStock. I am using Cosmic Orange and Stardream Metallic Card Stock in Bronze. I really like the iridescent quality of the Stardream card stocks.

I cut the CutCardStock on a Cricut Maker. The Cosmic Orange was cut at 100# and the Metallic Bronze was cut twice at 100#. While the mat is still in the Maker, just hit the go button again.

materials

Materials:

  • CutCardStock papers (linked above)
  • Distress Oxide ink pads
  • blending brushes
  • adhesive
  • rhinestones
  • Embelli Gelli
  • free SVG file
  • printable paper file

Video Tutorial:

pumpkin circle
pumpkin mandala SVG

The SVG file for the pumpkin mandala can be found at: [mandala]

The printable paper design for the barn wood is a part of a Halloween pack and can be found at: [barn wood]

A close-up of the finished card shows off some of the detail in the printed barn wood image and the ink blending on the mandala.

Suggested Materials:

Links are Affiliates
AZ – Amazon, SSS – Simon Says Stamps, SB – Scrapbook, O – Other
Scraperfect Embellie Gellie Tool
Shop at:
AZ | SSS | O
Professional Makeup Brush Set
Shop at:
AZ
Distress Ink Bundle
Distress Ink Bundle
Shop at:
AZ
rhinestones
rhinestones
Shop at:
AZ
Scotch Tacky Glue
Scotch Tacky Glue
Shop at:
AZ | SSS

Making a Mini Folder

Learn how to make a mini folder from one page.

with ScraPerfect

The basic mini folder is made from one sheet of double-sided scrapbooking paper. Using the Best Glue Ever with the No-Clog Writing Cap holds the seams together by applying a small amount of glue, which is needed. From the basic construction, you can embellish the folder as you desire.   

Materials:

After you have cut the paper to size, there are three lines that need to be scored. A small cut with your scissors and you are ready to glue the folder together. 

I chose to use stickers and ribbon from Dollar Tree to embellish my mini folder. The embellishment options are limitless and can really enhance the look of your folder.

Video Tutorial:

  Here is a look at the inside of the mini folder.

Suggested Materials:

Links are Affiliates
AZ – Amazon, SSS – Simon Says Stamps, SB – Scrapbook, O – Other
Scraperfect Best Glue Ever
Shop at:
AZ | SSS | O
Scraperfect 32 Clog Writing Cap, Medium
Shop at:
AZ | SSS | O
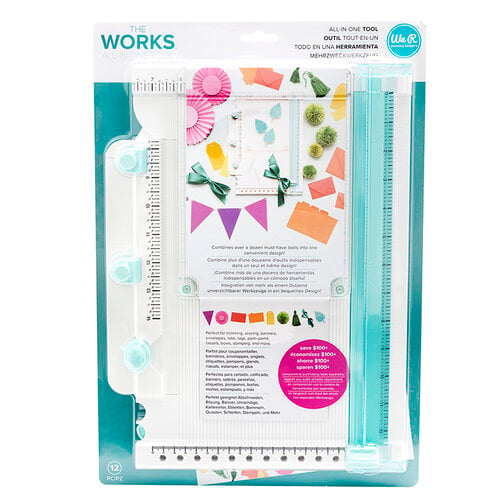
We R Memory Keepers - All-In-One Tool - The Works
We R Memory Keepers – All-In-One Tool – The Works
Shop at:
AZ | SSS | SB
Westcott 14849 8
Westcott 14849 8″ Straight Titanium Bonded Non-Stick Scissors
Shop at:
AZ

How to Make Double-sided Paper

Learn the tips and tricks to making double-sided scrapbooking paper.

for Scrapbooking, Cardmaking, and Crafting

Double-sided paper packs are hard to locate. They are a preferred favorite of mine for paper crafting. I have begun making my own. I know you can glue two pieces of just about anything together, but getting the correct thickness is key for many applications. The secret I have learned that works best is to use wrapping paper.

Materials:

  • Single-sided Scrapbook paper
  • thin wrapping paper
  • spray adhesive
  • spray booth
  • scissors

The materials are simple and the process is easy. Spray the backs of each paper and then put them together before the adhesive has totally dried. Spray adhesive works best. Other kinds of adhesive will add bumps and bulk to the paper.

Video Tutorial:

Fairy Stamping and Gelli Plate Tutorial

Making a fairy card with a Gelli Plate background. #sponsored #affiliate @fairystamper

I have a video tutorial up on the Fairy Stampers YouTube channel. As a part of their video design team, I post tutorials twice a month. Today I am using a Gelli Plate to make the background image along with the Moana stamp fairy. The Gelli Plate technique I am using is with alcohol inks and acrylic paint. It is really fun and addictive.

Many of the items I use in my posts are provided by the manufacturers in order to promote their products.
A special thanks to those brands who sponsor this site.

Materials:

  • Gelli Plate
  • Alcohol Inks
  • 2 brayers
  • copy paper
  • The Works Board
  • mini Maker die cutter
  • leaf die
  • card stock – green and white
  • blending brush
  • Distress Oxide stamp pads
  • Liquitex Acrylic
  • Best Glue Ever
  • tape runner
  • black ink pad
  • Derwent pencils
  • sentiment stamp
  • paintbrush

Video Tutorial:

I added details on the inside of the card as well. A strip of the Gelli Plate print that I had trimmed off the background and an additional die-cut leaf. These elements add a surprise when the card is open as well as linking to the front of the card.

Suggested Materials:

Links are Affiliates
AZ – Amazon, SSS – Simon Says Stamps, SB – Scrapbook, O – Other
Scraperfect Best Glue Ever
Shop at:
AZ | SSS | O
Scraperfect 32 Clog Writing Cap, Medium
Shop at:
AZ | SSS | O
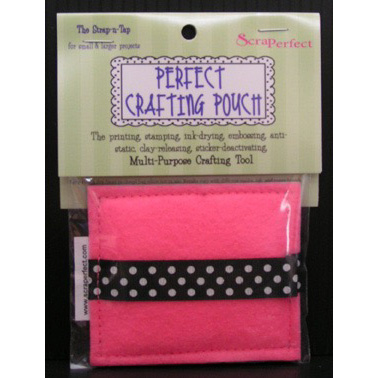
Scraperfect Perfect Crafting Pouch
Shop at:
AZ | SSS
Ranger Adirondack Alcohol Ink 3 pack
Shop at:
AZ | SSS
We R Memory Keepers - All-In-One Tool - The Works
We R Memory Keepers – All-In-One Tool – The Works
Shop at:
AZ | SSS | SB
Professional Makeup Brush Set
Shop at:
AZ
Intense Black Ink Pad
Shop at:
SSS
Distress Ink Bundle
Distress Ink Bundle
Shop at:
AZ
Mini Maker
Mini Maker
Shop at:
O
Tape Runner
Tape Runner
Shop at:
AZ | SSS | SB
Gelli Plate
Gelli Plate
Shop at:
AZ | SSS
Liquitex Transparent White
Shop at:
AZ
Derwent Inktense
Derwent Inktense
Shop at:
AZ